How to create a Cobblemon 1.7.3 Server (Easy Setup Guide)
Learn how to host your own Cobblemon 1.7.3 server with Mega Pokémon, Legendary spawns, and everything else in under 15 minutes - no experience needed.
Cobblemon is a ton of fun solo, but it's incredible with friends! We've created a Cobblemon Server Template designed for private SMPs, so you can start your own world in less than 15 minutes. It adds Legendary Pokemon Spawning and Mega Pokemon & other Gimmicks - all pre-configured and ready to go.
Setup takes less than 15 minutes and takes just a few clicks thanks to Sparked Host, who provide high-performance hardware in multiple global locations. Our server template works perfectly with their Modrinth integration - no manual setup required!
Quick Start
- Get a Sparked Host Server (6gb+ recommended)
- Install the Cobblemon Server Template Modpack from the Modrinth tab
- Start the server & accept the EULA
- Run 'chunky radius 1000' and 'chunky start' to pre-generate your world
- Install the same modpack on your PC and join the server using your IP!
What do you need to run a Cobblemon Server?
You'll need two things:
- A Server Host, like Sparked Host, which this guide is designed for.
- The Cobblemon Server Template Modpack, which both you and your friends install to play together.
This guide walks you step-by-step through how to host a Cobblemon server using Sparked Host and the Cobblemon Server Template Modpack - the easiest way to start your own private SMP.
The Cobblemon Server Host
We recommend Sparked Host. Use code roanoke at checkout for 25% off your first month!
This guide will walk you through the entire process with them!
The Cobblemon Server Template (Modpack)
We've created a Cobblemon Server Template Modpack, available on Modrinth, which bundles extra content like Mega Pokemon and Legendary Spawning alongside server-side optimisation mods that the largest Cobblemon servers use!
Everything is expertly pre-configured, so all you have to do is click install on Sparked Host!
Your friends can install the same modpack, as it also comes with client-side mods, so they can start playing instantly!
1. Getting a Server from Sparked Host
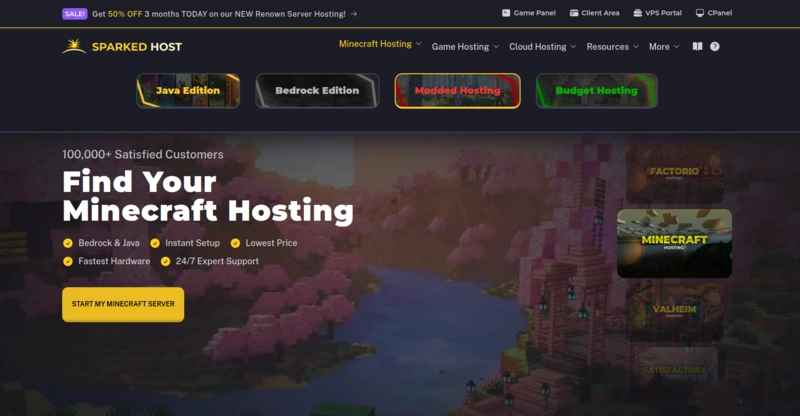
Head over to Sparked Host's Homepage and click on "Modded Hosting"
You'll then be presented with different plans - we recommend 6GB RAM minimum for 4-5 players. If you want more performance, switch to their extreme plans which have a more powerful CPU - the Ryzen 9900X.

The Venus plan has a good ratio of price to performance, and will be perfect for a private SMP with friends. You can upgrade later, if needed, so don't worry too much. Keep in mind, you'll get 25% off by using code "roanoke" at checkout!
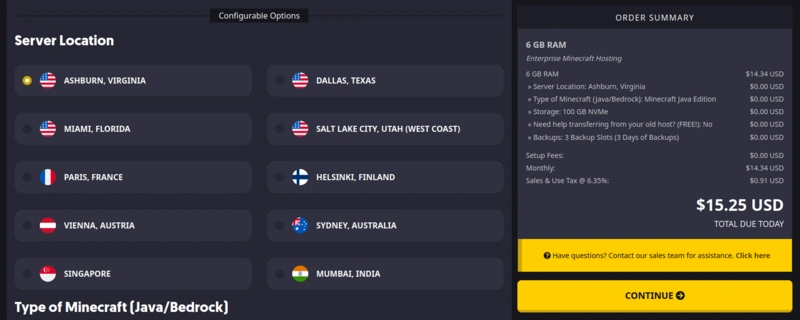
Once you click "Order now" on a plan, you'll be able to configure extras for your server. You can ignore everything except the location - set it near where you & your friends are!
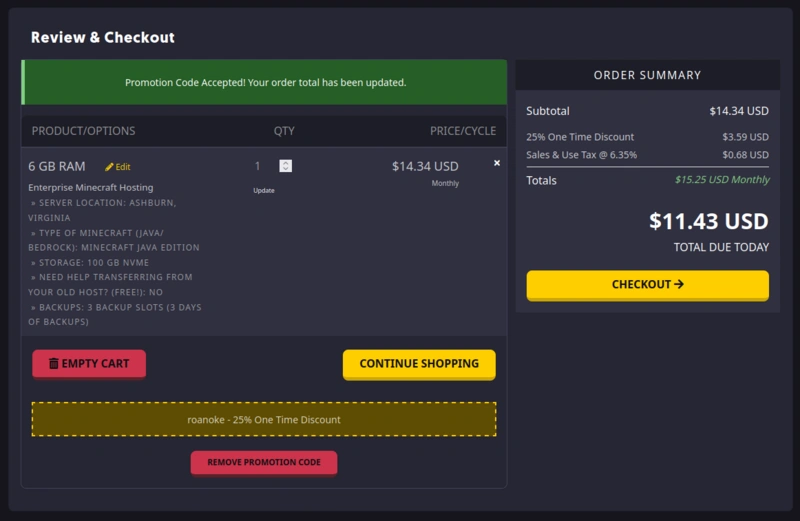
Make sure to enter code "roanoke" to get 25% off when you checkout! You'll be prompted to pay & to create an account.
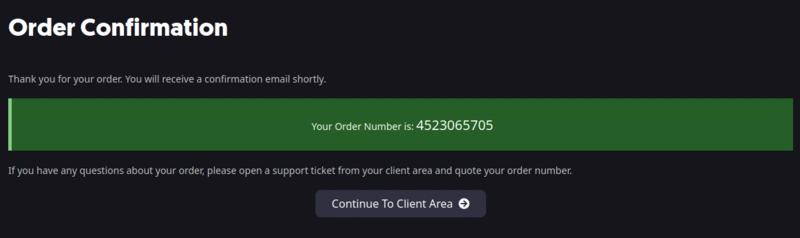
It may take a few minutes for your server to be ready, once it is, you can click "Continue to Client Area" and select your server.
2. Installing the Cobblemon Server Template
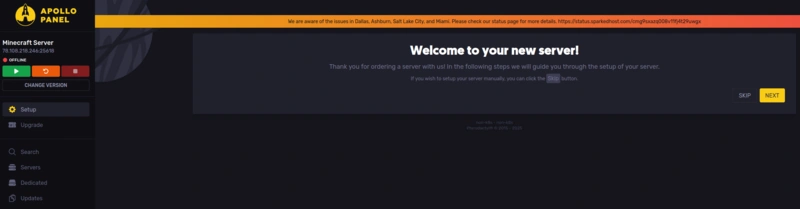
Your server panel should look something like this - you can click the "Skip" button as we just need to install your modpack!

This is your server panel, where you can access your files, start/stop the server, run commands, and most importantly - install the Cobblemon Server Template Modpack.
On the left panel, click on Modpacks.
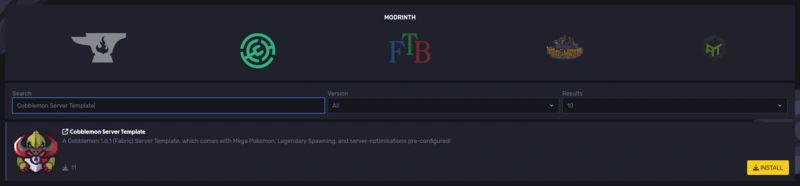
Click the green Modrinth logo, and then search for "Cobblemon Server Template". Click Install.
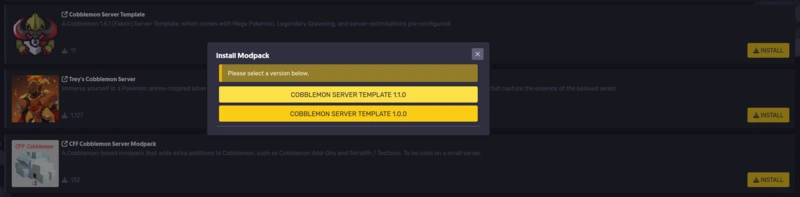
Select whatever the latest version is (the biggest number) which will be at the top.
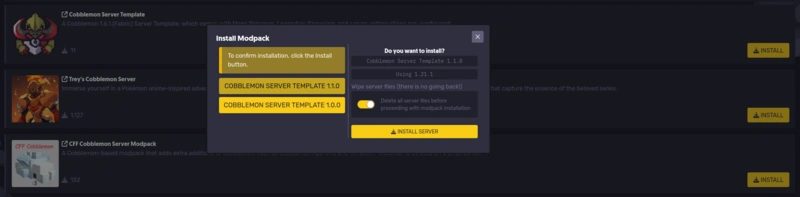
Make sure to enable "Delete server files" to clear up any default files. Don't worry, it just clears old files - the modpack installs everything you need after! Then click Install Server!
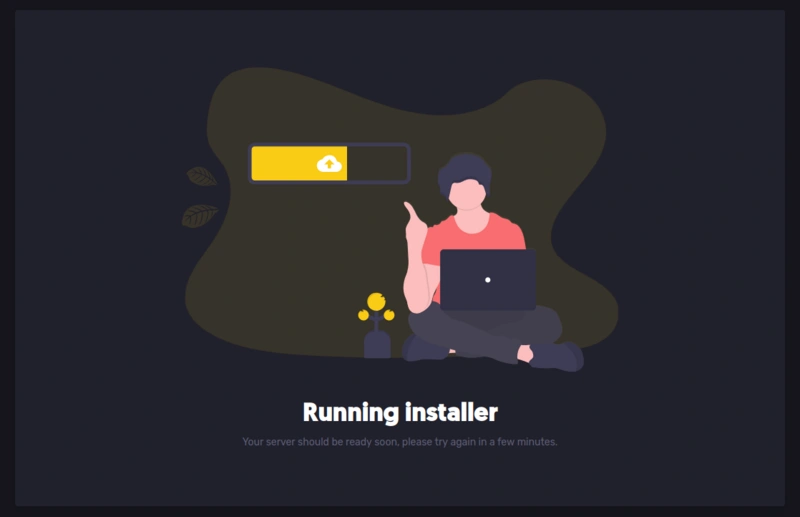
The server will start installing, it'll take less than thirty seconds.
Once it's done, you'll be back at the normal panel page. At this point, you can finally click the green "Start" arrow at the top left.
The first start will take a little bit longer as it needs to download Minecraft, and then you'll be prompted to accept the Minecraft EULA.
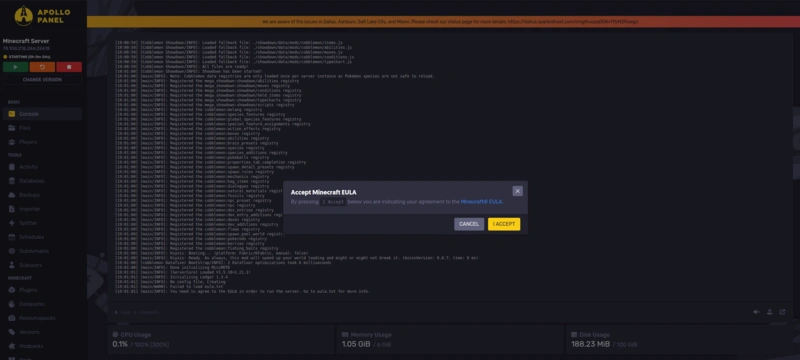
Just click "I Accept", and then click the red stop button (you may have to click it twice). Turn your server back on, you're ready to play!
Wait - take 2 minutes to make your server 10x faster!
Before you start playing, run these two simple commands to pre-generate your world. The slowest part of a Minecraft server is generating chunks. Cobblemon Server Template comes pre-installed with Chunky which does all this work upfront, so you and your friends can run around without any lag!
First, we set the radius of how far we want to generate chunks. 1,000 blocks will take roughly 5 minutes, and 2,000 blocks will take 12~ minutes.
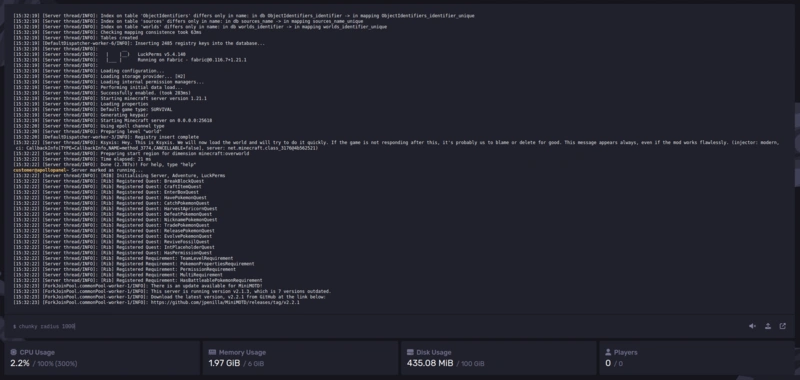
Type 'chunky radius 1000' into your console, and then press enter. You should see the text "[Chunky] Radius changed to 1000." like in the above screenshot.
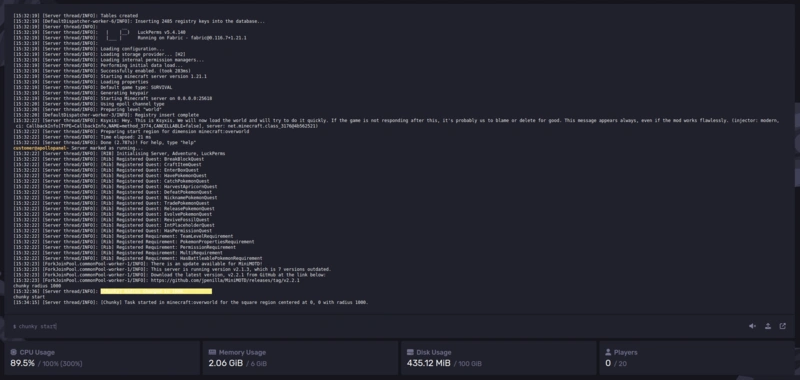
Once your radius is set, type 'chunky start' and press enter. You should see "Task started in minecraft:overworld for the square region centered at 0, 0 with radius 1000." like in the above screenshot.
Chunky will now start pre-generating your world. It gives you updates with percentage completion & an ETA for it finishing every few seconds. Your server may crash when pre-generating - that's normal - just restart the server and enter "chunky start" again. It'll pick up where it left off.
How to connect to your Cobblemon Server
Now the server is set up, you just need to install the Cobblemon Server Template Modpack on your PCs. We recommend using the Modrinth App to do so, but you could also use alternatives like Prism.
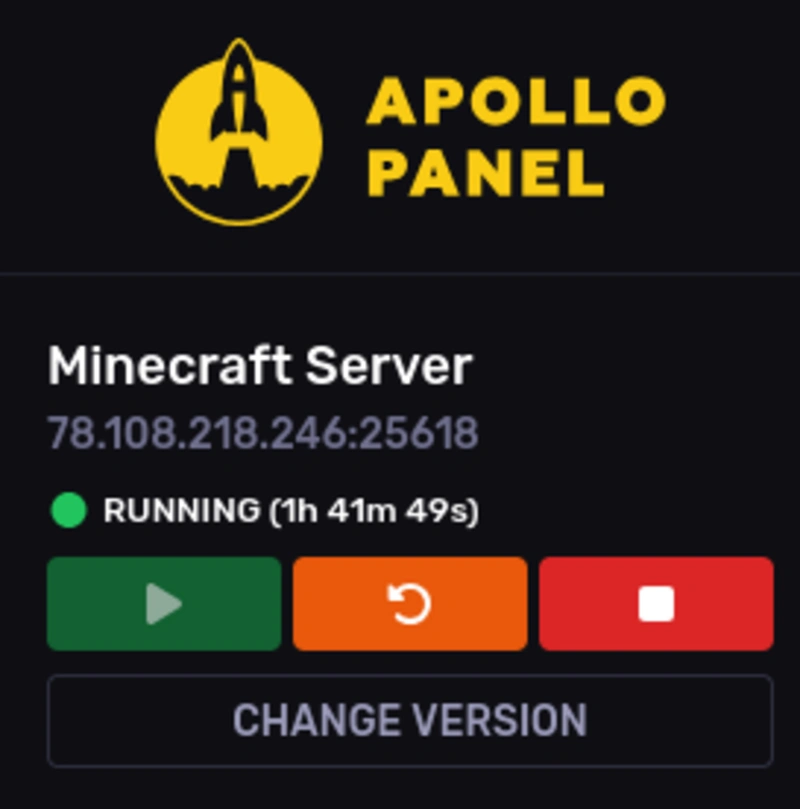
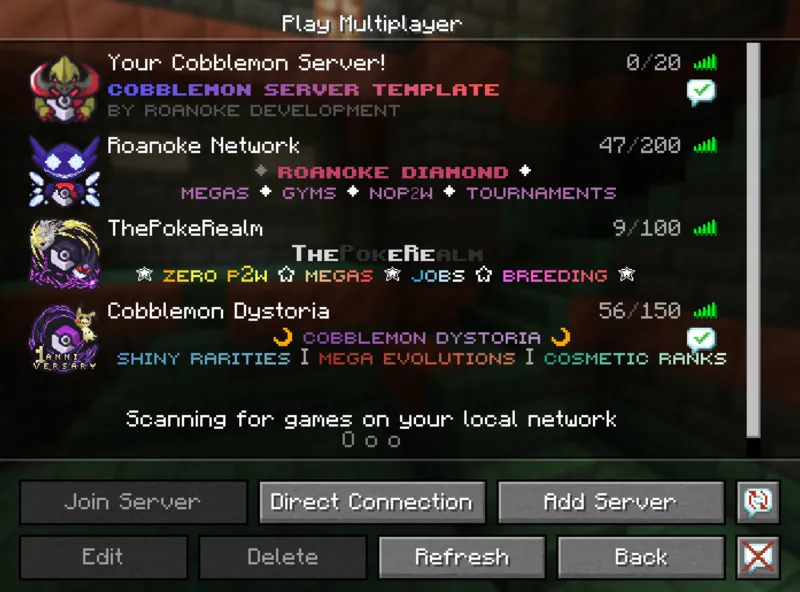
Once you've loaded your game, just head to the Multiplayer screen, Add A Server, and put the IP from your Sparked Host panel in! The IP is the numbers and port shown on the top left of your panel, see above screenshot.
Frequently Asked Questions
- Can I use this guide with other Server Hosts? Yes, this guide and the Cobblemon Server Template Modpack should work with any other server host.
- Do my friends need to buy a server too? Nope! Only the host pays. Your friends just install the same modpack locally and join using your server’s IP.
- How do I update to Cobblemon 1.7.3? All you'll need to do is update the Modpack - your world & data will be safe!